
This post is the second in a two-part review of three-time US National Ladies Figure Skating Champion and Olympic bronze medalist Ashley Wagner’s Skate & Sculpt, an adults-only on-ice figure skating fitness class. In Part 2, I share a handful of key takeaways from the Skate & Sculpt class I took. I write about the content that captivated me personally and do not share everything covered in the class. I recommend attending Skate & Sculpt for the full experience, and hope my review has encouraged those who read it to do so!
To view Part 1 of my review, please visit the following link: https://findingbalanceontheedge.blog/2023/12/02/review-of-ashley-wagners-skate-sculpt-fitness-class-part-1/
Image featured above: My friends and I with Ashley Wagner after her Skate & Sculpt class. Ashley is third from the right in the grey hat. Ashley graciously posed for photos with all of the class attendees.
Disclaimer: This review was written based on my own perceptions and experiences in the Skate & Sculpt class I took. I am not affiliated with Skate & Sculpt and do not speak on behalf of Skate & Sculpt.
In this post, I use photos to demonstrate the takeaways I have found most useful for my figure skating practice. The photos are of me and were not taken at Skate & Sculpt, but rather when I was practicing on my own. They are frames from videos I took on my phone, which was propped up on the side of the rink against the plexiglass, so I apologize that the photos are a little blurry. I also provide analysis on how to perform each move well.
I will begin by discussing key takeaways from the warm-up. The warm-up lasted around ten minutes. All forty class attendees skated the warm-up counter-clockwise around the rink. The warm-up included a couple exercises to warm up the thighs and hips, specifically squats and leg lifts.
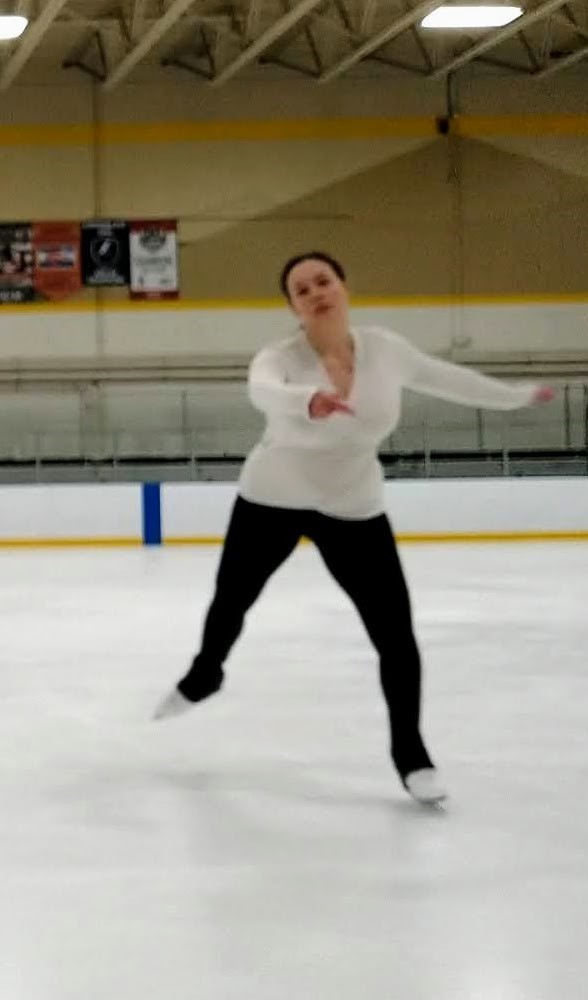
The below two photos demonstrate the squat exercise, which we skated for at least one full lap around the rink. I find that skating a swivel prior to dropping into the squat position allows me to maintain power throughout the lap. Without skating a swivel, I tend to run out of steam before I reach the end of one length (half of a lap) of the rink.
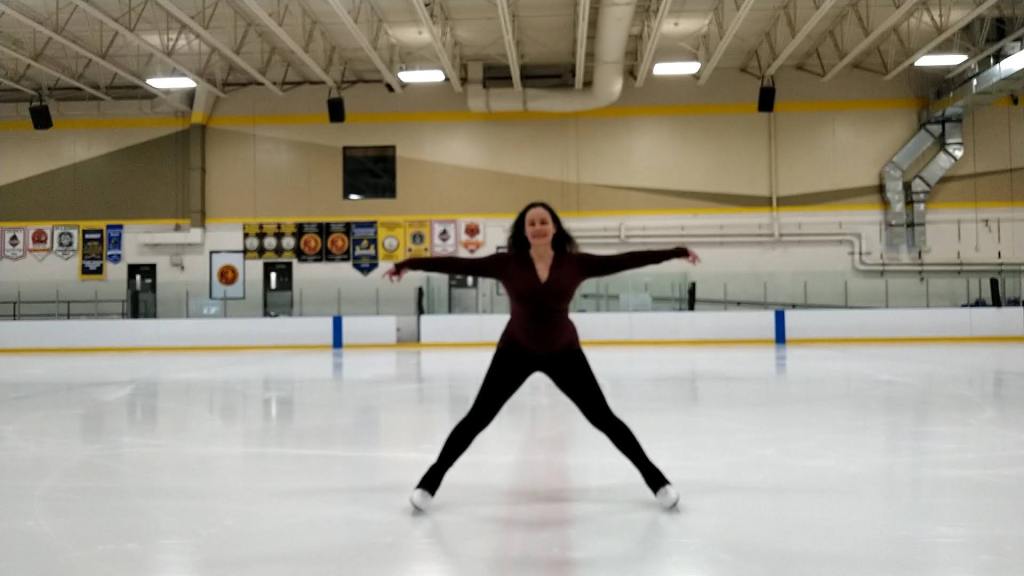
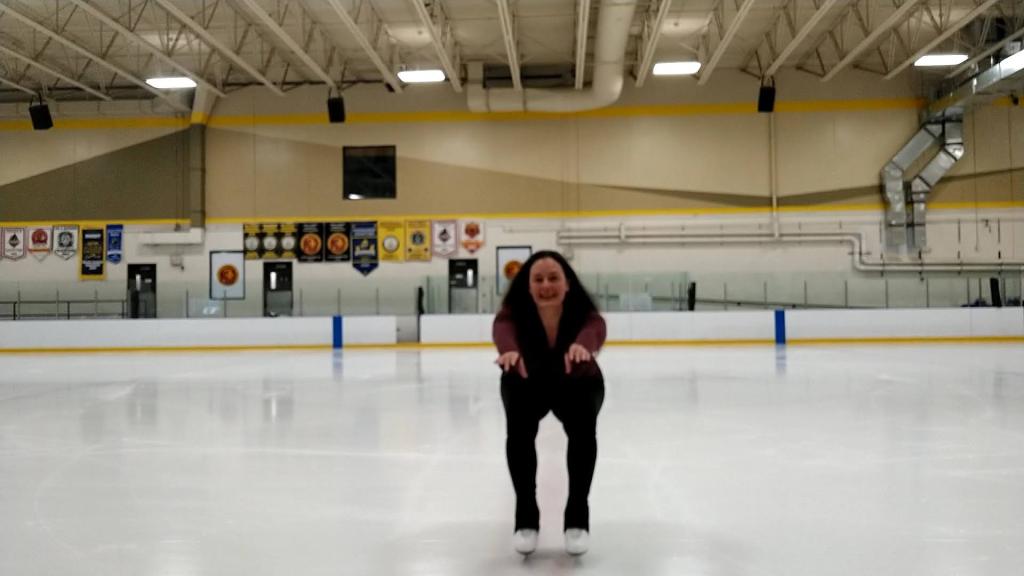
To achieve the most benefit from the squat position, tighten the abdominal muscles, stretch the tailbone backward as much as possible while reaching forward with the arms, and keep the shoulders pressed down while holding the head up. The result is a deeper squat.
The below photo demonstrates the position of the leg lift exercise used to warm up the hips. We skated one to two laps of the rink per leg.
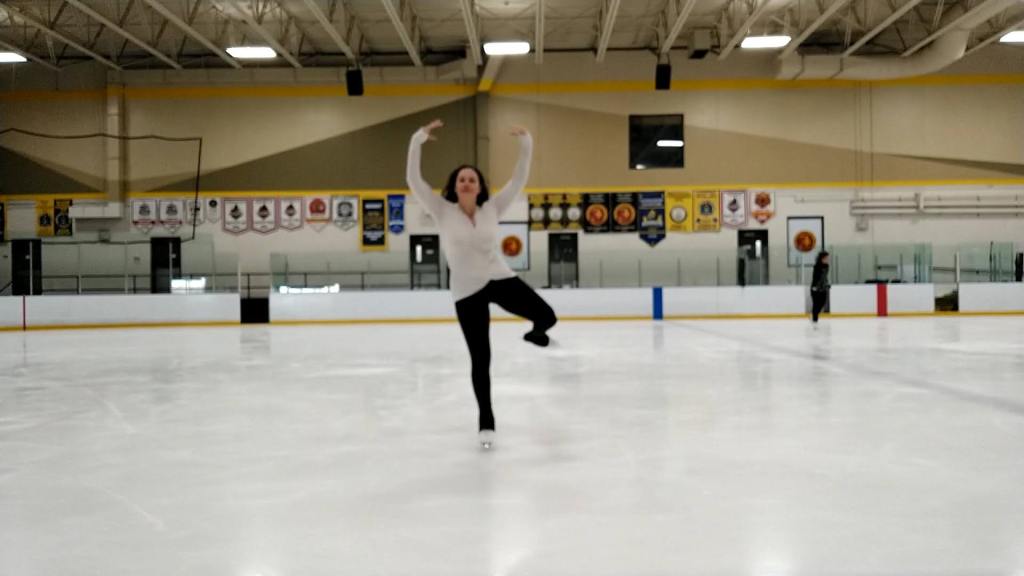
The leg lift exercise is performed from an upright body position with the core muscles tightened, shoulders pressed down, and head held up. The arms are held above the head, identical to the position of the arms in a layback spin. The crux of the exercise is to engage and tighten the hip muscles of the free leg to lift the outer leg up and down, with the motion originating from the hip joint. The hip is turned out slightly with the leg pushed back (use the hip muscles to push the leg back), knee bent, and foot flexed. I find the position of the free leg is more secure and tight if I hold the flexed foot as close as possible to my body; it makes the free leg easier to control and lift.
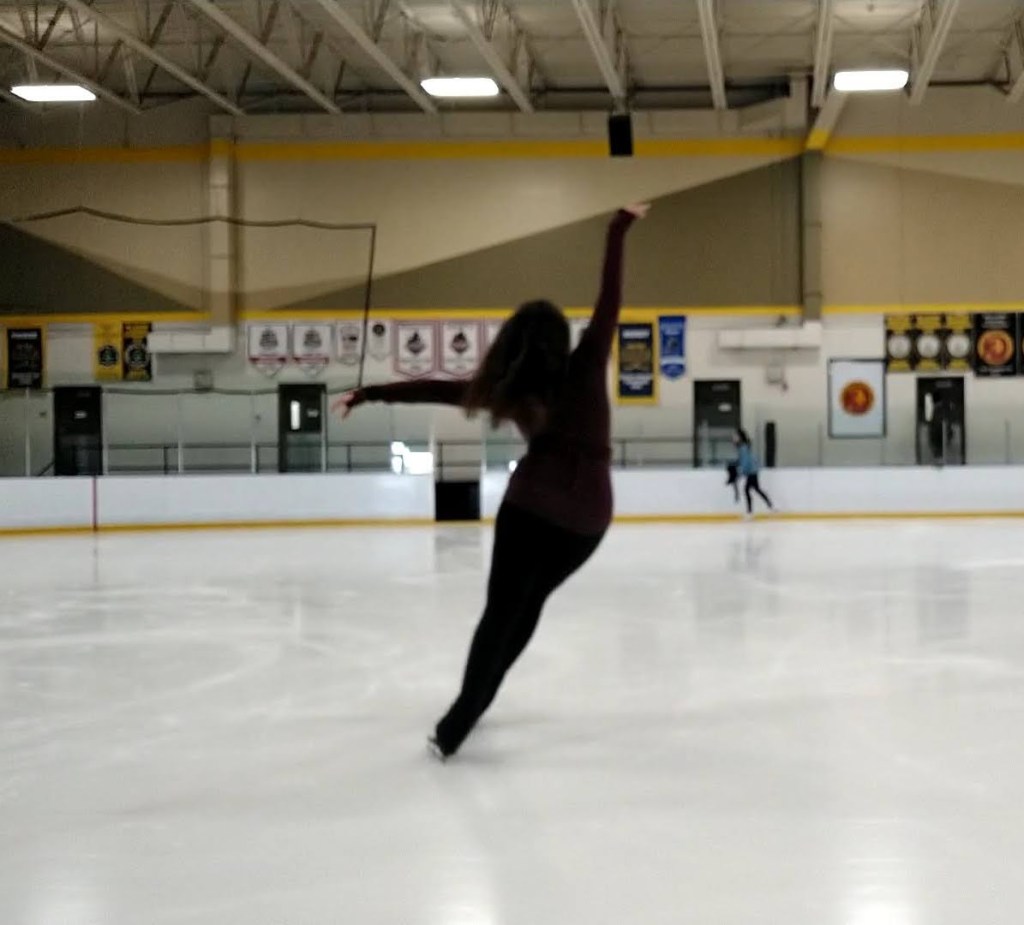
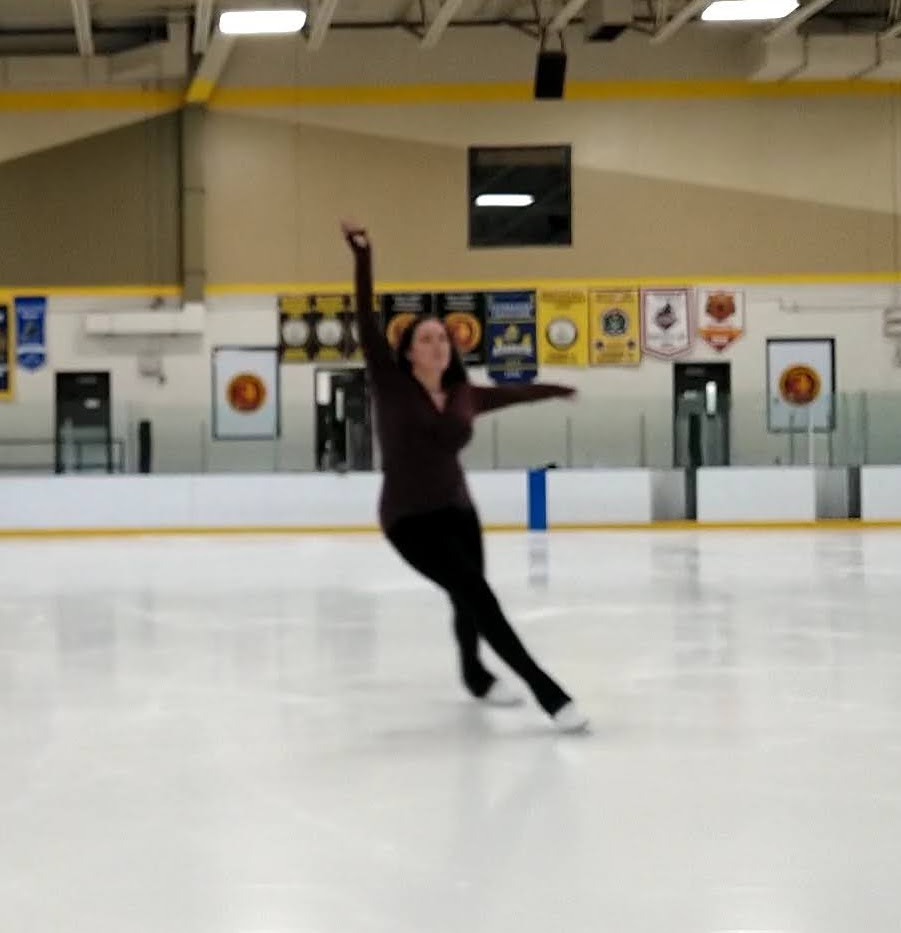
Now I will discuss my favorite element of the warm-up, that is, forward crossovers (but not just any forward crossovers!). In this drill, forward crossovers are skated on an axis lengthwise down both sides of the rink, creating lobes curving toward the axis. The aim is to hold the third and final step of each crossover, that is, the forward inside edge, a little longer than each of the two prior steps. The skater should be able to sink into and hold a secure inside edge. In the below image on the left I am holding the right forward inside edge, and in the image on the right I am holding the left forward inside edge.
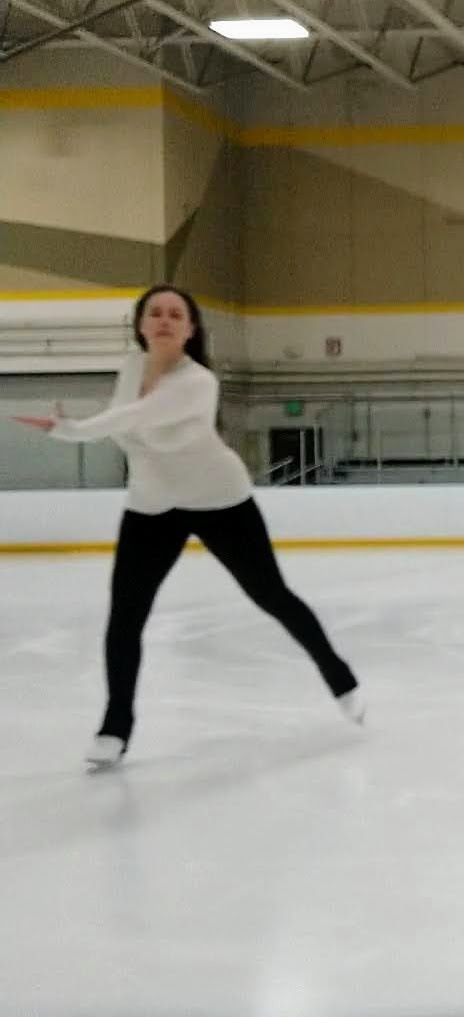
Several elements must come together to achieve a strong and stable forward inside edge. The knee of the skating leg should be bent as deeply as possible. Perhaps most importantly, the skater should check the curve of the lobe by twisting the upper body (and bringing the arms across) in the opposite direction of the curve. When the upper body is twisted in the opposite direction more body weight is transferred to the skating leg, from which a secure inside edge follows; the body leans naturally into the edge and the curve. As a finishing touch, the free leg should be extended as much as the body allows, with the knee straight and toes pointed. And the stronger the upper body twist, the easier it is to control and extend the free leg.
Following the warm-up, we spent the bulk of Skate & Sculpt skating various patterns across the ice. My favorite was a circular crossover pattern, which I demonstrate in the video below. The pattern can be skated clockwise or counter-clockwise. I skate the pattern clockwise in the video. The specific steps of the pattern are as follows: two forward crossovers – a barrel roll – two backward crossovers – a turn forward and simultaneous step onto the forward inside edge. The pattern consists of twelve steps total, after which the skater can begin the pattern again. I skate the pattern twice in the video. Each step of the pattern is skated to the same beat. In Skate & Sculpt, the pattern was skated to two different beats, a quicker beat and a slower, more elongated beat. Of course both ways have their benefits and allow the skater to work on different things.
Now, when I learned this pattern at Skate & Sculpt, I hadn’t heard of a barrel roll before. For those for whom this move may also be new, a barrel roll consists of a mohawk turn followed by a cross step of the free leg. In other words, do not step onto the ice with the free leg immediately after the mohawk; instead, extend the free leg, bring it across the front of the body, AND THEN step onto the ice. After stepping onto the ice, the skater is positioned perfectly to skate the two backward crossovers that follow in the pattern.
I will close this post by sharing about the final part of Skate & Sculpt. Specifically, when we were able to engage our creativity and skate a pattern of our own design lengthwise down the rink. I gravitated toward a side-bend-like position on two feet, which I skated on half-lobes on each side of the lengthwise axis. I have enjoyed skating this move ever since I began skating decades ago. It is as if my body just wants to go there naturally. Below are a couple photos of the side-bend pattern I created.
Overall, Skate & Sculpt was an invigorating experience and I am very glad I attended it. The class content is useful, practical, and incorporates seamlessly into existing on-ice training routines. And as I stated in Part 1 of my review, in addition to being a powerful force on the ice, Ashley Wagner is an inspiring and sincere individual who is empathetic to the challenges and needs of adult skaters. It was a pleasure to meet her in person and take her Skate & Sculpt class. Thank you Ashley!
If you’ve enjoyed what you have read, subscribe to my blog by entering your email below. It is an honor to share my experiences with you!

One thought on “Review of Ashley Wagner’s Skate & Sculpt Fitness Class (Part 2)”